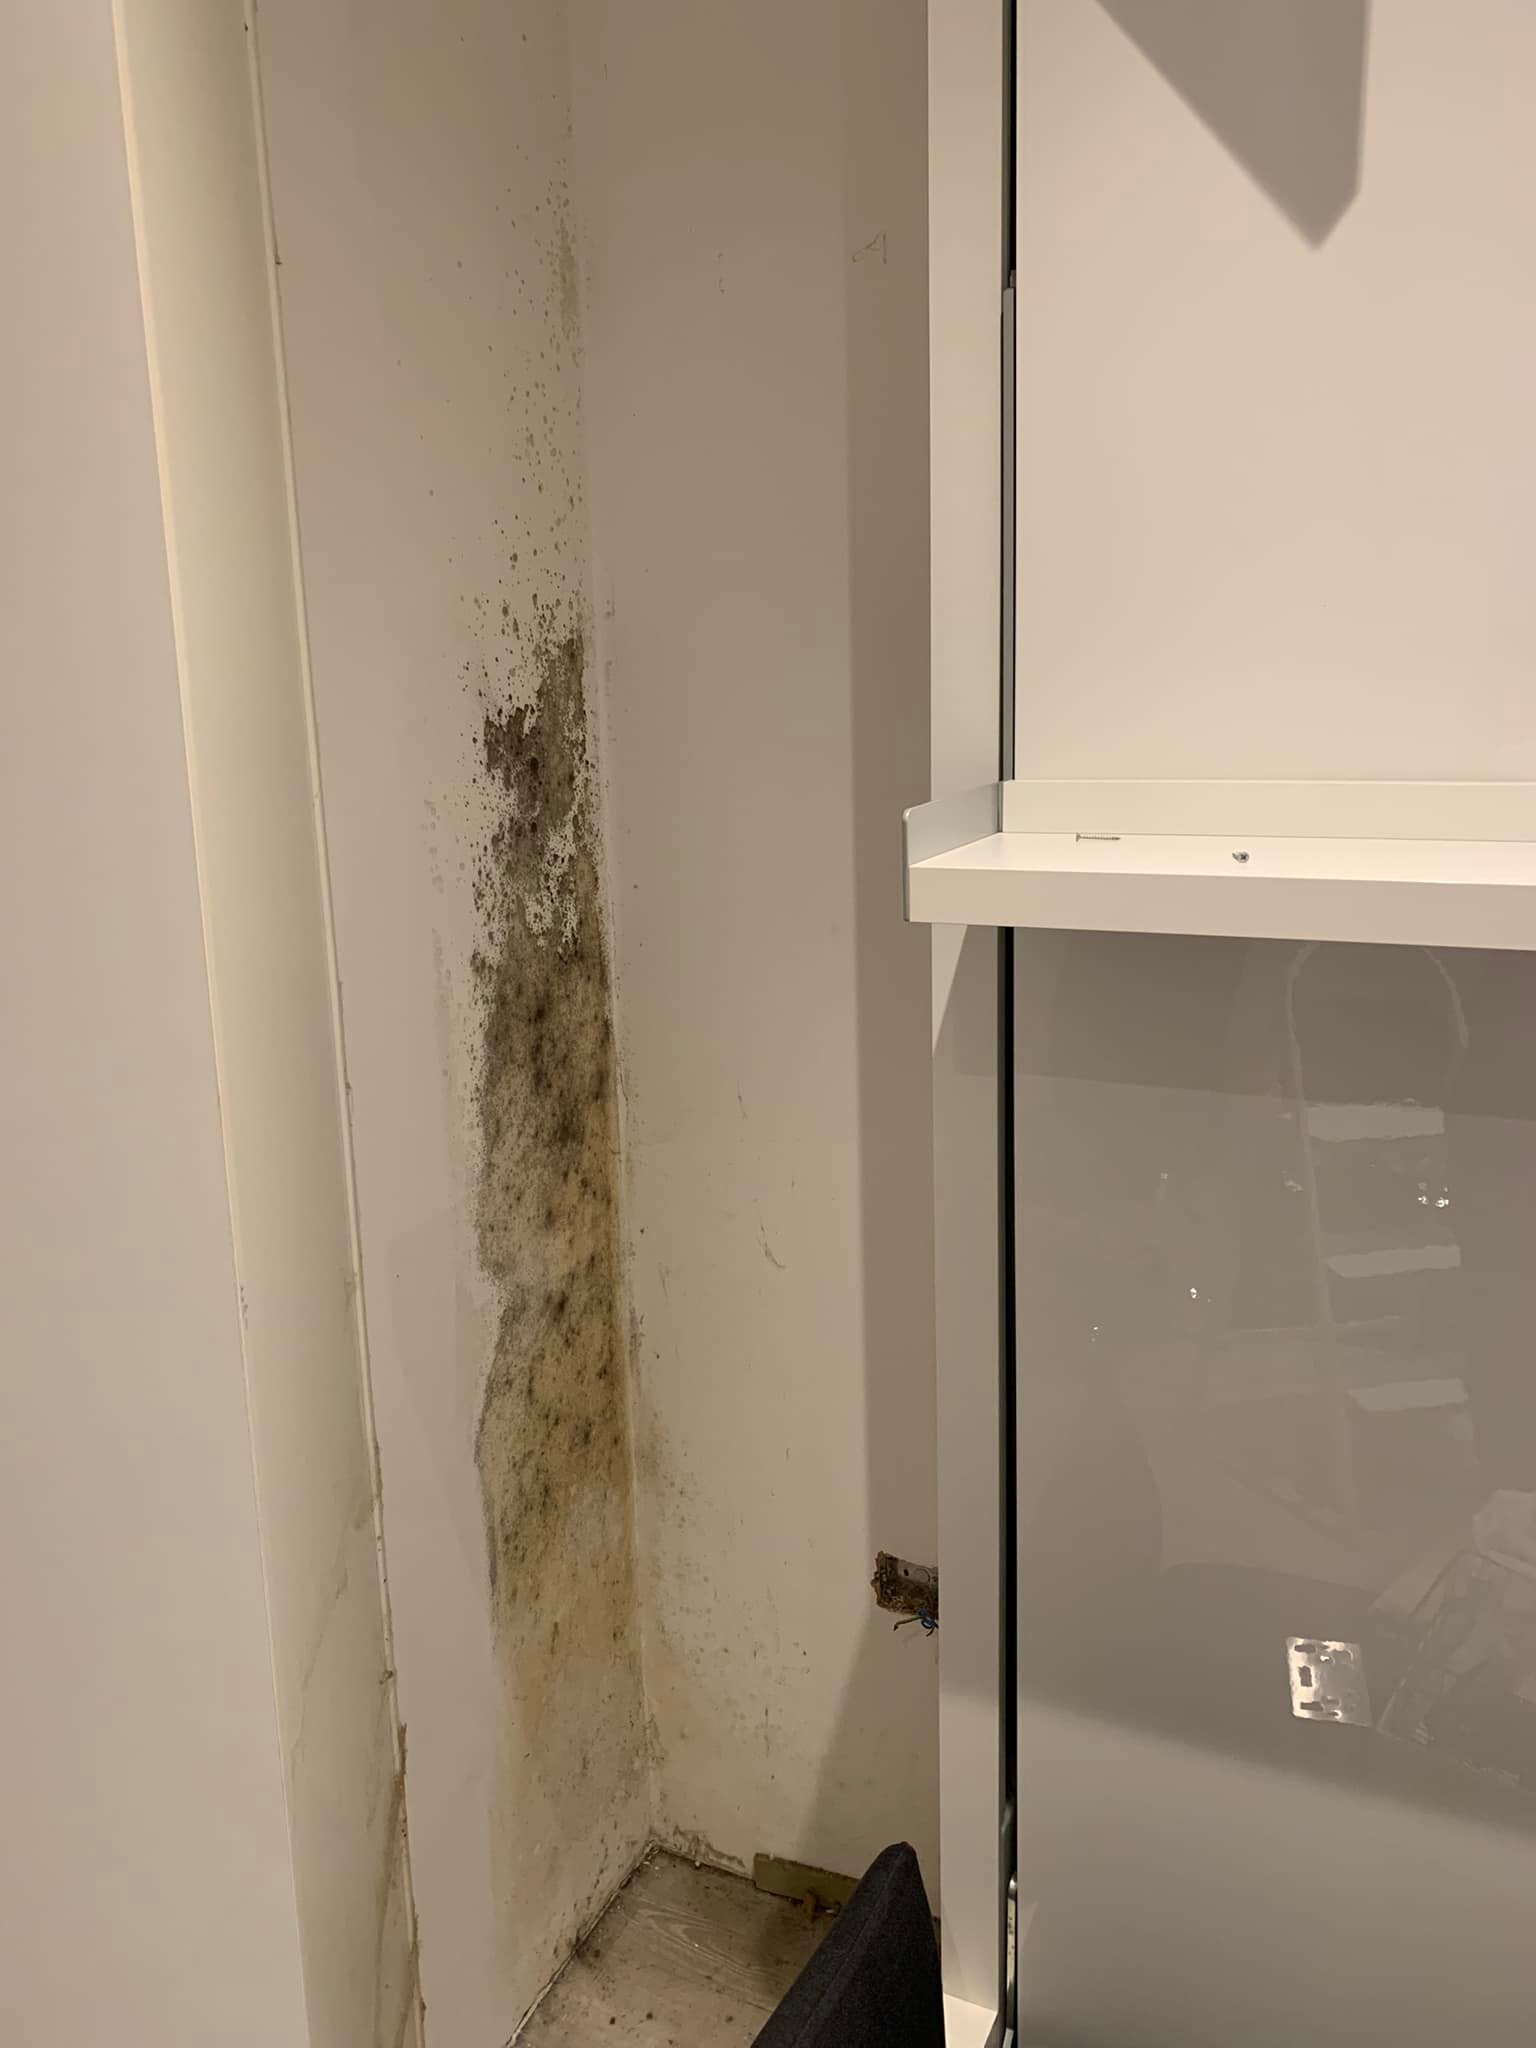
If you've noticed a musty smell in your home or spotted black mould appearing on your walls, it could be a sign of damp or condensation issues. This is a common problem in many British homes, especially where furniture is placed too close to walls, preventing proper air circulation. Left unaddressed, mould not only damages your property but can also have serious health consequences. Here’s a step-by-step guide from BN1 Complete Services Group to help you tackle this problem safely and effectively.
Why Damp, Mould, and Condensation Matter
Damp and mould are typically found where moisture is trapped, often around fitted or freestanding furniture that lacks ventilation. Mould spores can trigger allergies, respiratory issues, and skin irritation, so it’s important to address these issues as soon as you notice them. The image above shows black mould behind a wall unit due to lack of ventilation—a common situation that’s preventable with the right approach.
Step-by-Step Guide to Removing Mould and Preventing Condensation
Follow these steps to safely remove mould and prevent future build-up:
Step 1: Move Furniture for Access
Begin by unscrewing or moving any furniture that's too close to the wall. This will provide enough space to treat the area and allow air to circulate better, reducing future condensation.
Step 2: Clean the Affected Area
Using a mixture of water and bleach (or a specialist mould cleaner), thoroughly clean the mouldy area. Use multiple clean towels to ensure all mould residue is removed. Always wear a mask and gloves to protect yourself from harmful spores and bleach fumes.
Step 3: Apply a Shellac-Based Primer if Needed
If the black mould persists after several cleaning attempts, allow the area to dry completely, then paint it with a shellac-based primer. This will seal the area and help prevent future mould growth. Once dry, repaint with regular wall paint.
Step 4: Add Foil Insulation
For an added layer of protection, apply foil insulation to the wall using double-sided tape. This will help prevent moisture from building up and reduce the risk of future condensation issues.
Step 5: Refit Furniture
Once the area is clean, dry, and insulated, move your furniture back into place, ensuring it is positioned to allow airflow between the walls and the unit.
What If You Have Fitted Furniture?
For fitted furniture, it’s often impractical to remove it entirely. In these cases, we recommend installing tubular heaters set to medium or low heat, running them 24/7. This gentle, continuous heat can prevent the formation of condensation and discourage mould growth behind fitted units.
Important Safety Tips
Always wear protective gear like masks and gloves when dealing with mould and bleach. Be mindful that this approach is intended for mould caused by condensation, not rising damp or leaks. If your mould problem is due to a leak or rising damp, it’s best to consult a professional to address the root cause.
Final Thoughts
At BN1 Complete Services Group, we’re committed to helping homeowners create healthy, comfortable living spaces. Damp, mould, and condensation may be common issues, but with the right steps, they’re completely manageable. Follow our guide, and if you need expert advice or assistance, don’t hesitate to reach out to us. We hope you find this information helpful in keeping your home safe and mould-free!
If you’re dealing with persistent damp or mould issues, contact BN1 Complete Services Group for a professional assessment and tailored solutions. We're here to help you protect your home and health!

